API Payments
This guide explains how to use the dashboard to create an API Payment that you need to process payments on your app using our API endpoints.
- Navigate to XPay dashboard through the follwing Urls:

Enter your credentials and click on Log in.
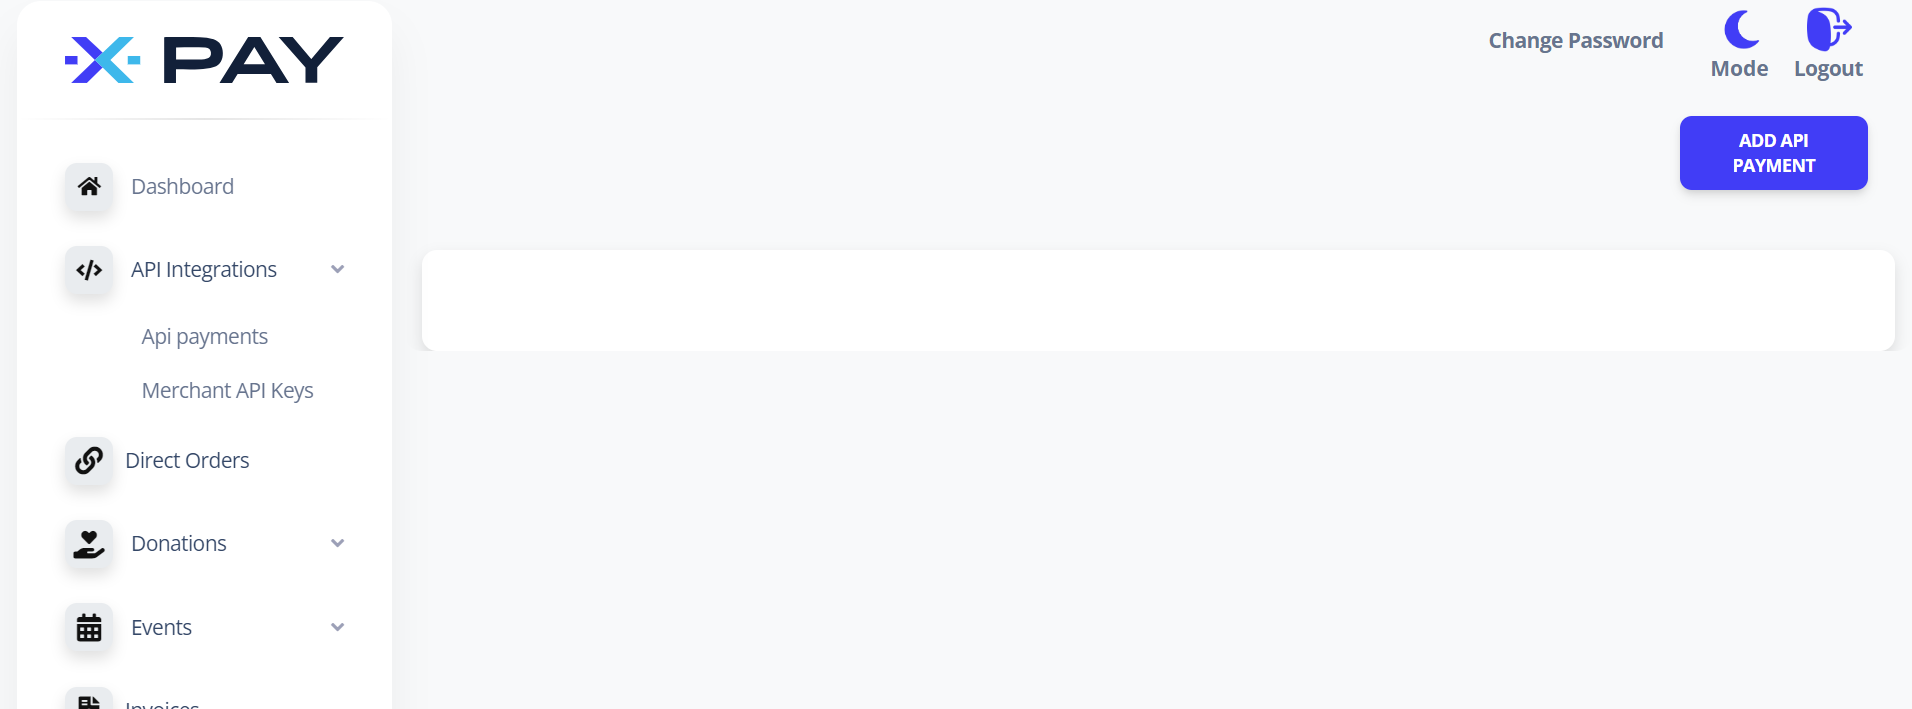
Navigate to API Payment under API Integrations section in the side menu.
- Click on add variable amount button in the top right corner.
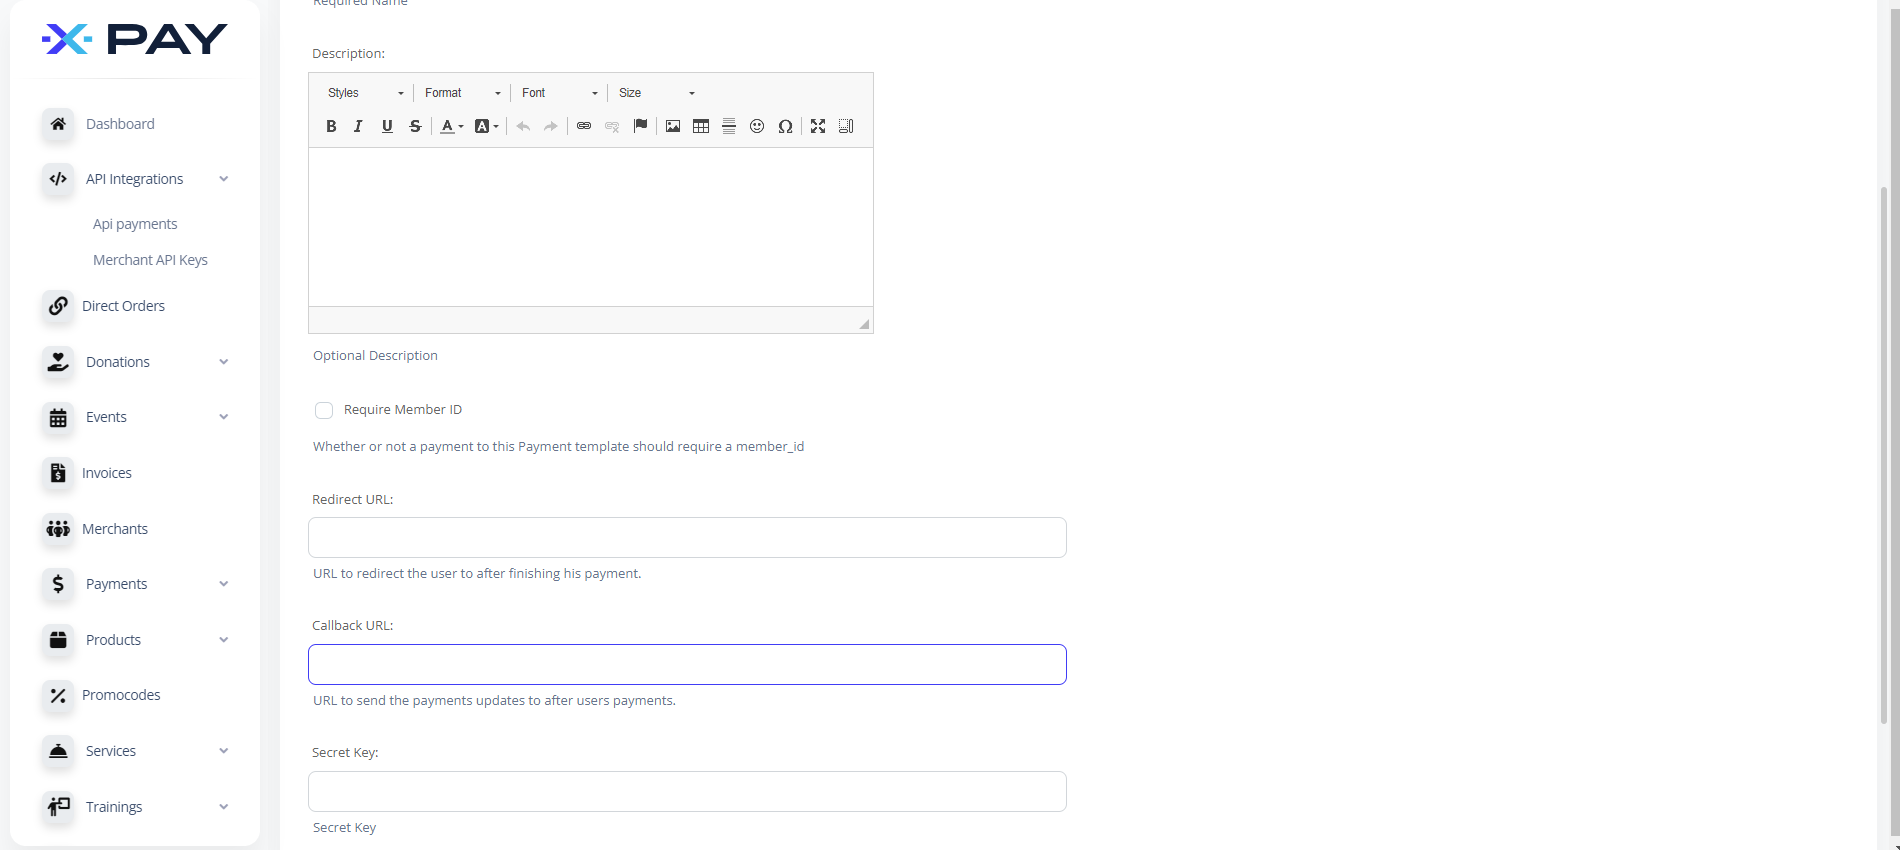
Fill in the name and description that describe your payment type.
check Is active option.
if you want your payments to require a
<member_id>field, check Require member id, this id will not be validated, it will just be an internal info in your business, if you don't need it.. uncheck it.if you want the payment iframe to redirect to a specific page after payment is done, fill in the url to redirect to in Redirect url field. In the redirected url you will have the status of the transaction, the transaction id, and the member id if provided.
If you want the payment server to send a POST request to another server with transaction status, and details, after payment is done, fill in Callback url field. The POST request body will have the status of the transaction, the transaction id, and the member id if provided.
info
The callback URL is only called when the transaction is accepted by our system, meaning the user completed the payment and received a response indicating the transaction was successful for a card payment or pending for kiosk / cash collection
click Save.
you will be redirected back to API Payment, the new created template will appear.
save the value in the ID column for later.
